Yes, I did this myself, but the title of this post should really be "Don't Try This At Home." I look forward every year to the arrival of the Grandin Road Halloween Haven catalog in my mailbox. I'm sure you do too. This year, I absolutely fell in love with the Halloween Harper Topiary. Here it is:


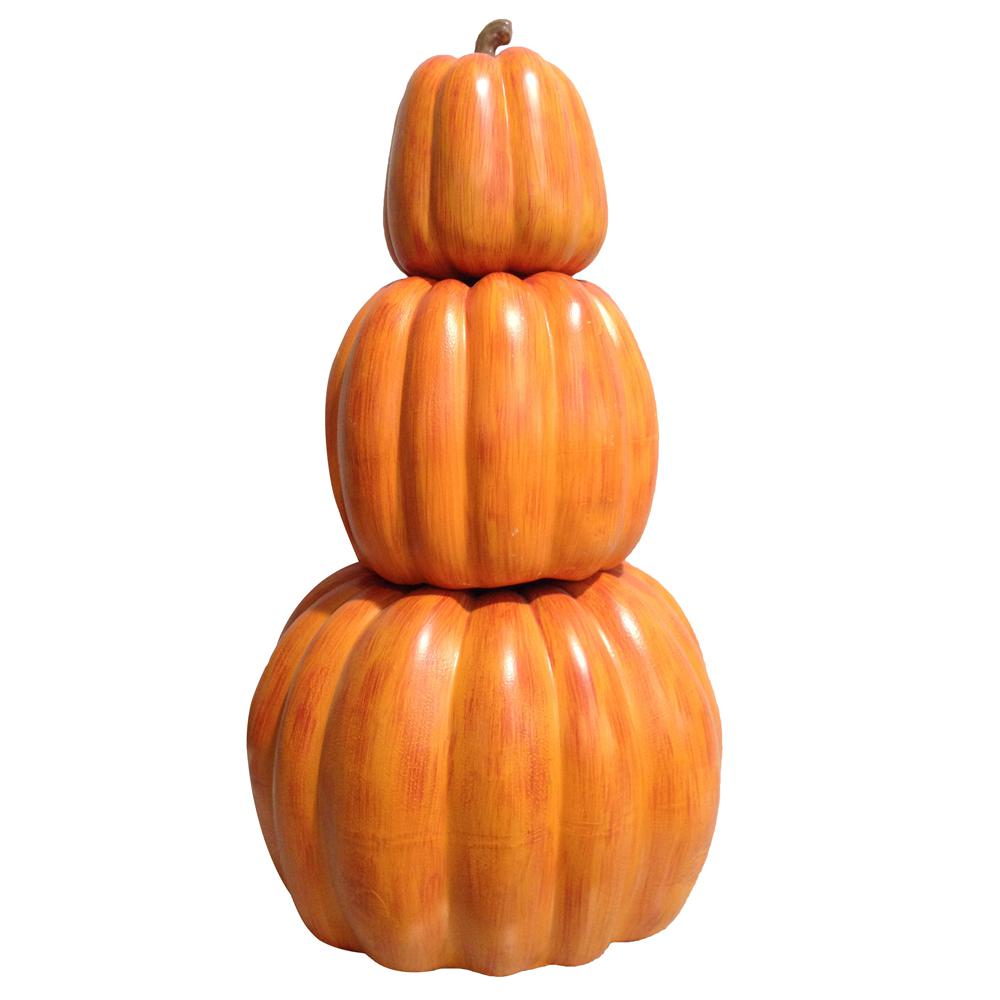
They're beautiful! Unfortunately the price was a bit more than I wanted to pay and stupidly I thought "I can do this!" While out on my Halloween decor patrol, I came across a large, resin, stacked pumpkin decoration. It wasn't symmetrical and smooth like the one in the picture, but I figured it was close enough. I forgot to take a picture of it before I started work, but it looked something like this:
Step One: I got out the glossy, white spray paint and went to town.

Step Two: I procrastinated. How was I going to sketch out the harlequin pattern on the bottom? I tried several techniques. First, I tried carefully measuring everything with a ruler (twice). Big fail. Because of the wavy surface it was impossible to get an exact fit. My husband, the engineer, suggest I get a laser. I kicked him out of the room and re-sprayed the pumpkin with white paint. They I cut out a diamond shaped template and sort of traced it around the pumpkin the best I could.


Step Three: The painting begins.


Keep in mind that it took several coats of black paint. Glossy black paint covers horribly. I probably had to paint each diamond at least three times.
Step Four: Keep painting- it goes on for weeks because I actually have a job I have to go to during the day. <insert grimace here>

Step Five: I had to figure out how to put the dots on the top pumpkin. I thought this would be easy. I was wrong, again. I ended up cutting out individual circles in paint tape and then sticking them to the pumpkin and giving it a light coat of black paint. Next I went in by hand with a small paint brush (By the way you can't go wrong with a good #10 paint brush. My art teacher made me buy one in college and it's never left my side.) and painted around each circle in black and then touched them up with white paint.


So, how did it turn out? Well, fair, I'd say. It's definitely not the one I loved, but I've come to love it. After all, I feel like I birthed mine. It's going to look great in low lighting....

Fortunately, I already owned the urn and just gave it a new coat of shiny paint. Would I suggest you try this at home? Only if you have lots of patience, time, and a sense of humor. Turns out paying a high price for the original is probably worth it!
Comments
Post a Comment